Is your Windows 10 Backup not working? A system backup is what you’re working on when you create a Windows 10 backup. The inability of Windows 10 Backup to function might be the result of several mistakes. Problems with backing up to a network drive, backup not working on Windows 10, or Windows 10 backup error 0x807800c5 are some of the reasons why Windows 10 backups might not function properly.
If your Windows 10 Backup is not working, you can try a few solutions to fix the problem (Windows backup not working) and prevent data loss. If Windows 10’s backup isn’t functioning, this article will show you every possible solution and ways to take backups. These manual tips will help you tweak the settings however you can automate the process with the Best Data Backup Software for Windows.
How to Configure Backup Settings in Windows?
In Windows 11 (and 10), you can set up automatic backups by following these steps:
Step 1: Access the Start menu.
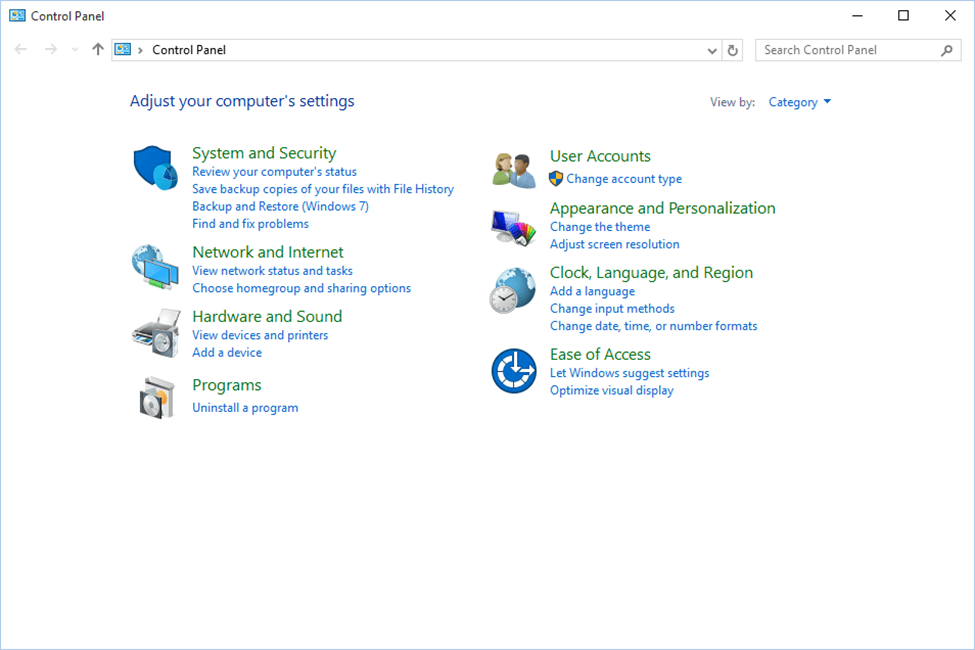
Step 2: To open the Control Panel app, search for it and click on the first result.
Step 3: To access the “Backup and Restore” feature, click the “System and Security” menu.
Step 4: On the right side of the “Backup” section, you should see the “Set up backup” option. Click on that.
Step 5: Choose the external disc where you want to keep the backups and go next.
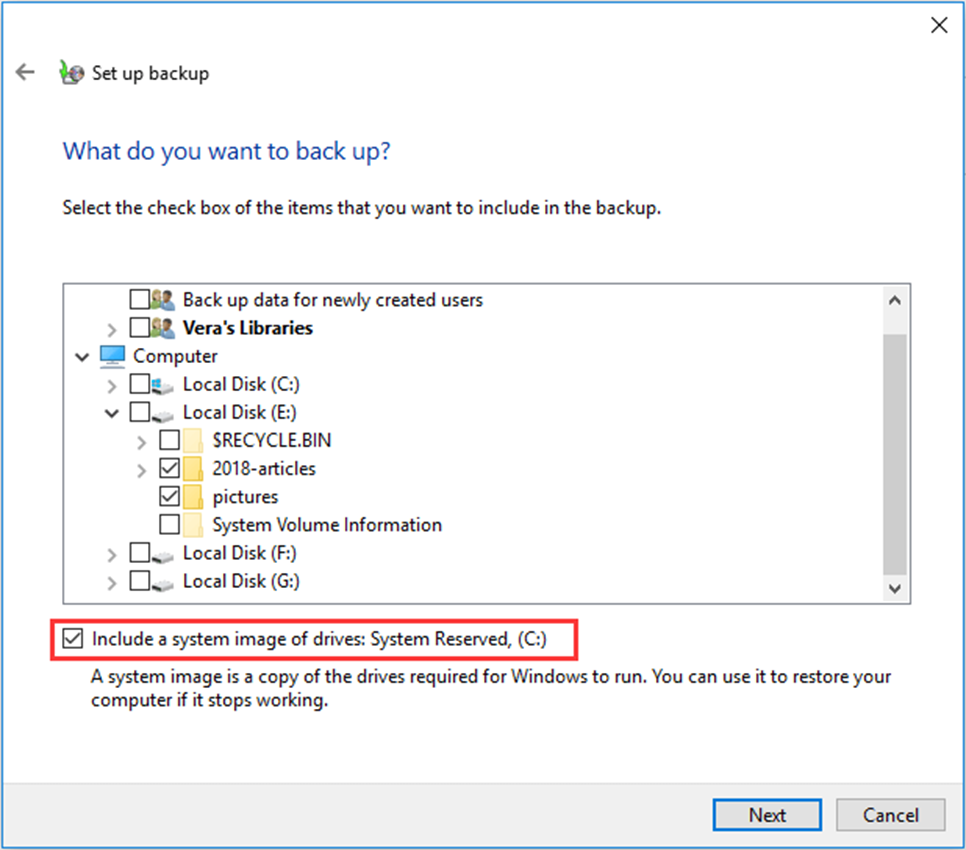
Step 6: Where it asks, “What do you want to backup?” click the “Let me choose” button and click ‘Next.’
Step 7: As needed, check all the items under the “Data Files” section. Then verify the Local Disc (C:) in the “Computer” section.
Step 8: Turn on the option “Include a system of drives: System Reserved, (C:)”. Then select the Next option.
Step 9: Find the option to Change the schedule and click on it.

Step 10: Select “Run backup on a schedule” and then set a schedule.
Step 11: When prompted, enter the time, date, and frequency with which Windows should back up the device and click the OK button.
Step 12: You can save the settings and exit the window.
At the end of the process, you will have an initial backup on Windows 11 and incremental backups executed when you choose.
Why Backup May Fail?
Are you facing the backup not working issue on Windows 10? Here, we will discuss the causes. Backups in Windows can fail for the following reasons:
● Data Corruption
Malfunctions in software or hardware, as well as viruses, can corrupt files.
● Shadow Replica
It may be possible that the backup location isn’t the same as the system’s temporary backup location.
● File History Service
This service may be malfunctioning! You can turn it OFF and turn it back ON to restart the service. You will need to access the Control Panel, go to System and Security, and access the File History option.
● Disc Failures
Data loss and machine instability are possible outcomes of hardware disc errors. You can reconnect the drive or try replacing the backup disk with other drives.
● Storage Space Constraint
When you create a backup on the server, you can compress the file and send it to your storage provider.
How to Fix Backup Not Working?
There isn’t much except resetting the services and checking a few manual tweaks!
Method 1: Turn ON Automatic Backup
Activate the backup and restore utility’s automatic file backup feature to fix Windows backup not working. It automatically backs up added files. It may display the Windows backup error message if disabled. What to do:
Step 1: Go to the main menu, pick settings, and choose update and security.
Step 2: Find the backup option in the update and security menu.

Step 3: Turn ON “Automatically back up my files” in the pop-up window.
Method 2: Restart Windows Search and File History Service
If the ‘File History’ and ‘Windows Search’ services are not set to Automatic, you will need to check and change the startup type.
Step 1: Press Win + R, type services.mac and hit the Enter key.
Step 2: You will find all the services here. Scroll through and select the Windows Search service.
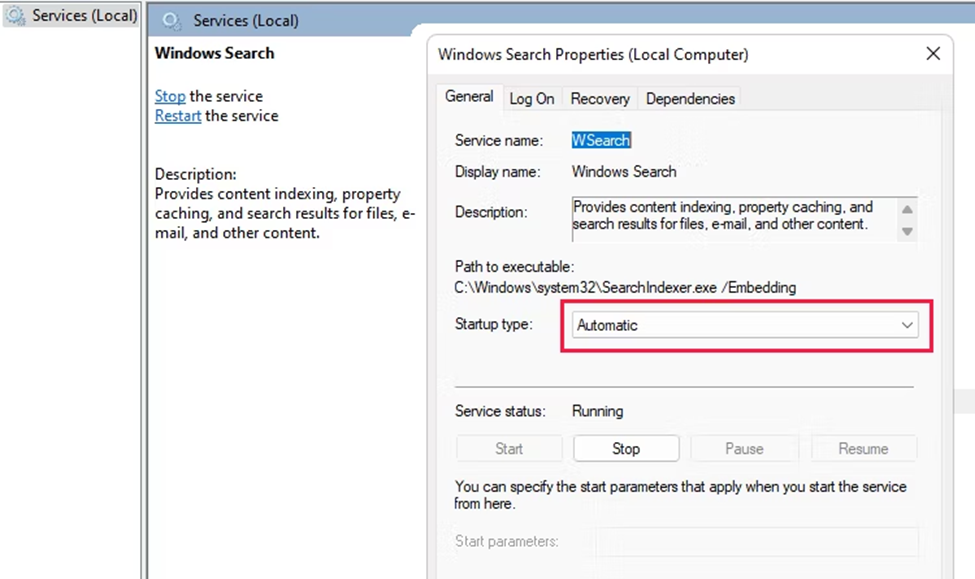
Step 3: Double-click on the service and set it to turn ON automatically from the properties window.
Step 4: Select the File History service in the same window.
Step 5: Double-click on the service and set it to turn ON automatically from the properties window.
Step 6: Close the window and restart the PC to implement changes.
Other Ways to Take Backup on Windows
In Windows, these are the three most common ways to create a backup on Windows 10:
Method 1: Configure Cloud Space to Take Windows Backup
You can perform the below-mentioned steps to configure and backup your Windows files to a cloud storage space. You can make use of Google Drive, Dropbox, or other cloud storage space for backups:
Please Note: Microsoft OneDrive offers 5 GB of free cloud storage space while Google Drive offers 15 GB and Dropbox offers 2 GB of cloud space. You can also download and install the OneDrive, Google Drive, or Dropbox apps on Windows to sync your folders and take a backup of important files, documents, photos, and videos.

Step 1: To log in, use your Microsoft account for Windows, Office 365, OneDrive, Xbox, and other Microsoft products.
Step 2: To safeguard important data, use a backup PC:
- Folders: OneDrive can back up your desktop, documents, photos, videos, and music. Microsoft account-linked devices can access these files.
- Configuration options: Turn various options on and off, including those for your wallpaper, language preference, Wi-Fi network information, and installed apps.
Step 3: Type “Windows backup” into the Start menu’s search bar or choose it from the All-Apps list to access backup on Windows 11.
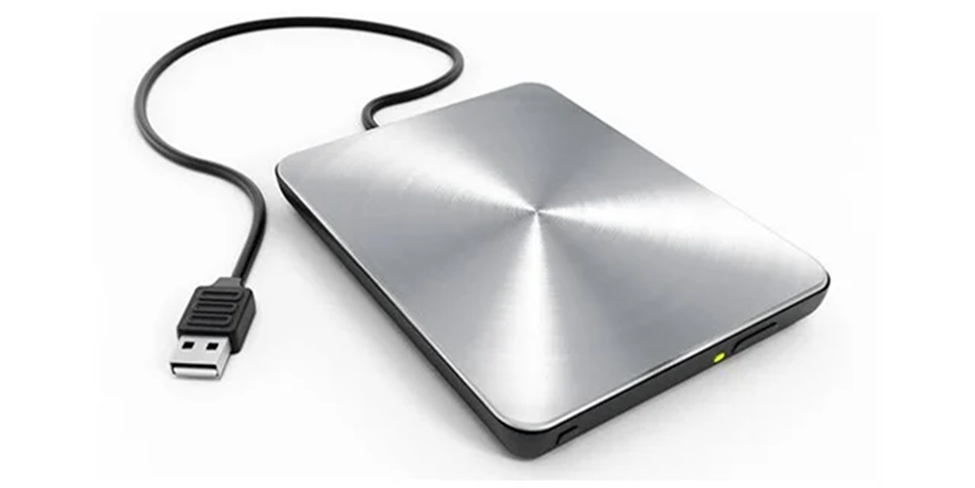
Method 2: Backup on External Hard Drives
You can take a backup on your external hard drives by following the below-mentioned steps:
Step 1: Connect an external hard drive to your computer.
Step 2: Copy & Paste critical data to the external drive to keep a backup.
Step 3: You can frequently connect the drive to manually copy and paste your important files on the external hard drive or if it is configured as the primary backup drive, it will automatically take a backup of the selected folders.
What is the Right Backup?
Everyone dealing with massive amounts of data must take precautions to protect it and have a backup plan. Most software programs today offer complicated solutions that need tweaking, which can take up valuable time. Those needing user-friendly software that efficiently backs up and restores data from the cloud can find assistance with the Right Backup utility. The application’s user interface is sleek and well-organized, with all the necessary tools and features neatly organized by color.

Features:
- Automated Data Protection
- Secure Storage with No Limits
- Leave Backups for Multiple Devices Behind
- Speedily Restore Data
How to Make the Most of it?
Here we will talk about the backup pc by using Right Backup:
Step 1: Get the Appropriate Backup Software
Select “Save” from the File Download-Security warning dialogue box that appears.

Step 2: Launch the File Save Path
Locate the folder where the download finished and double-click the rightbackupsetup.exe file to begin the setup process.
Step 3: Continue with the Setup Wizard
To finish installing Right Backup, follow the on-screen instructions.
Conclusion
Thus, when you try to back up your Windows 10 system or disc, a message says that the Windows 10 backup is not working. Multiple factors are likely to blame. File corruption, improper backup drive connection, or corrupted files or drives may cause it. Malware or viruses may also cause it. Hopefully, you will understand how to fix if your Windows 10 backup is not working.