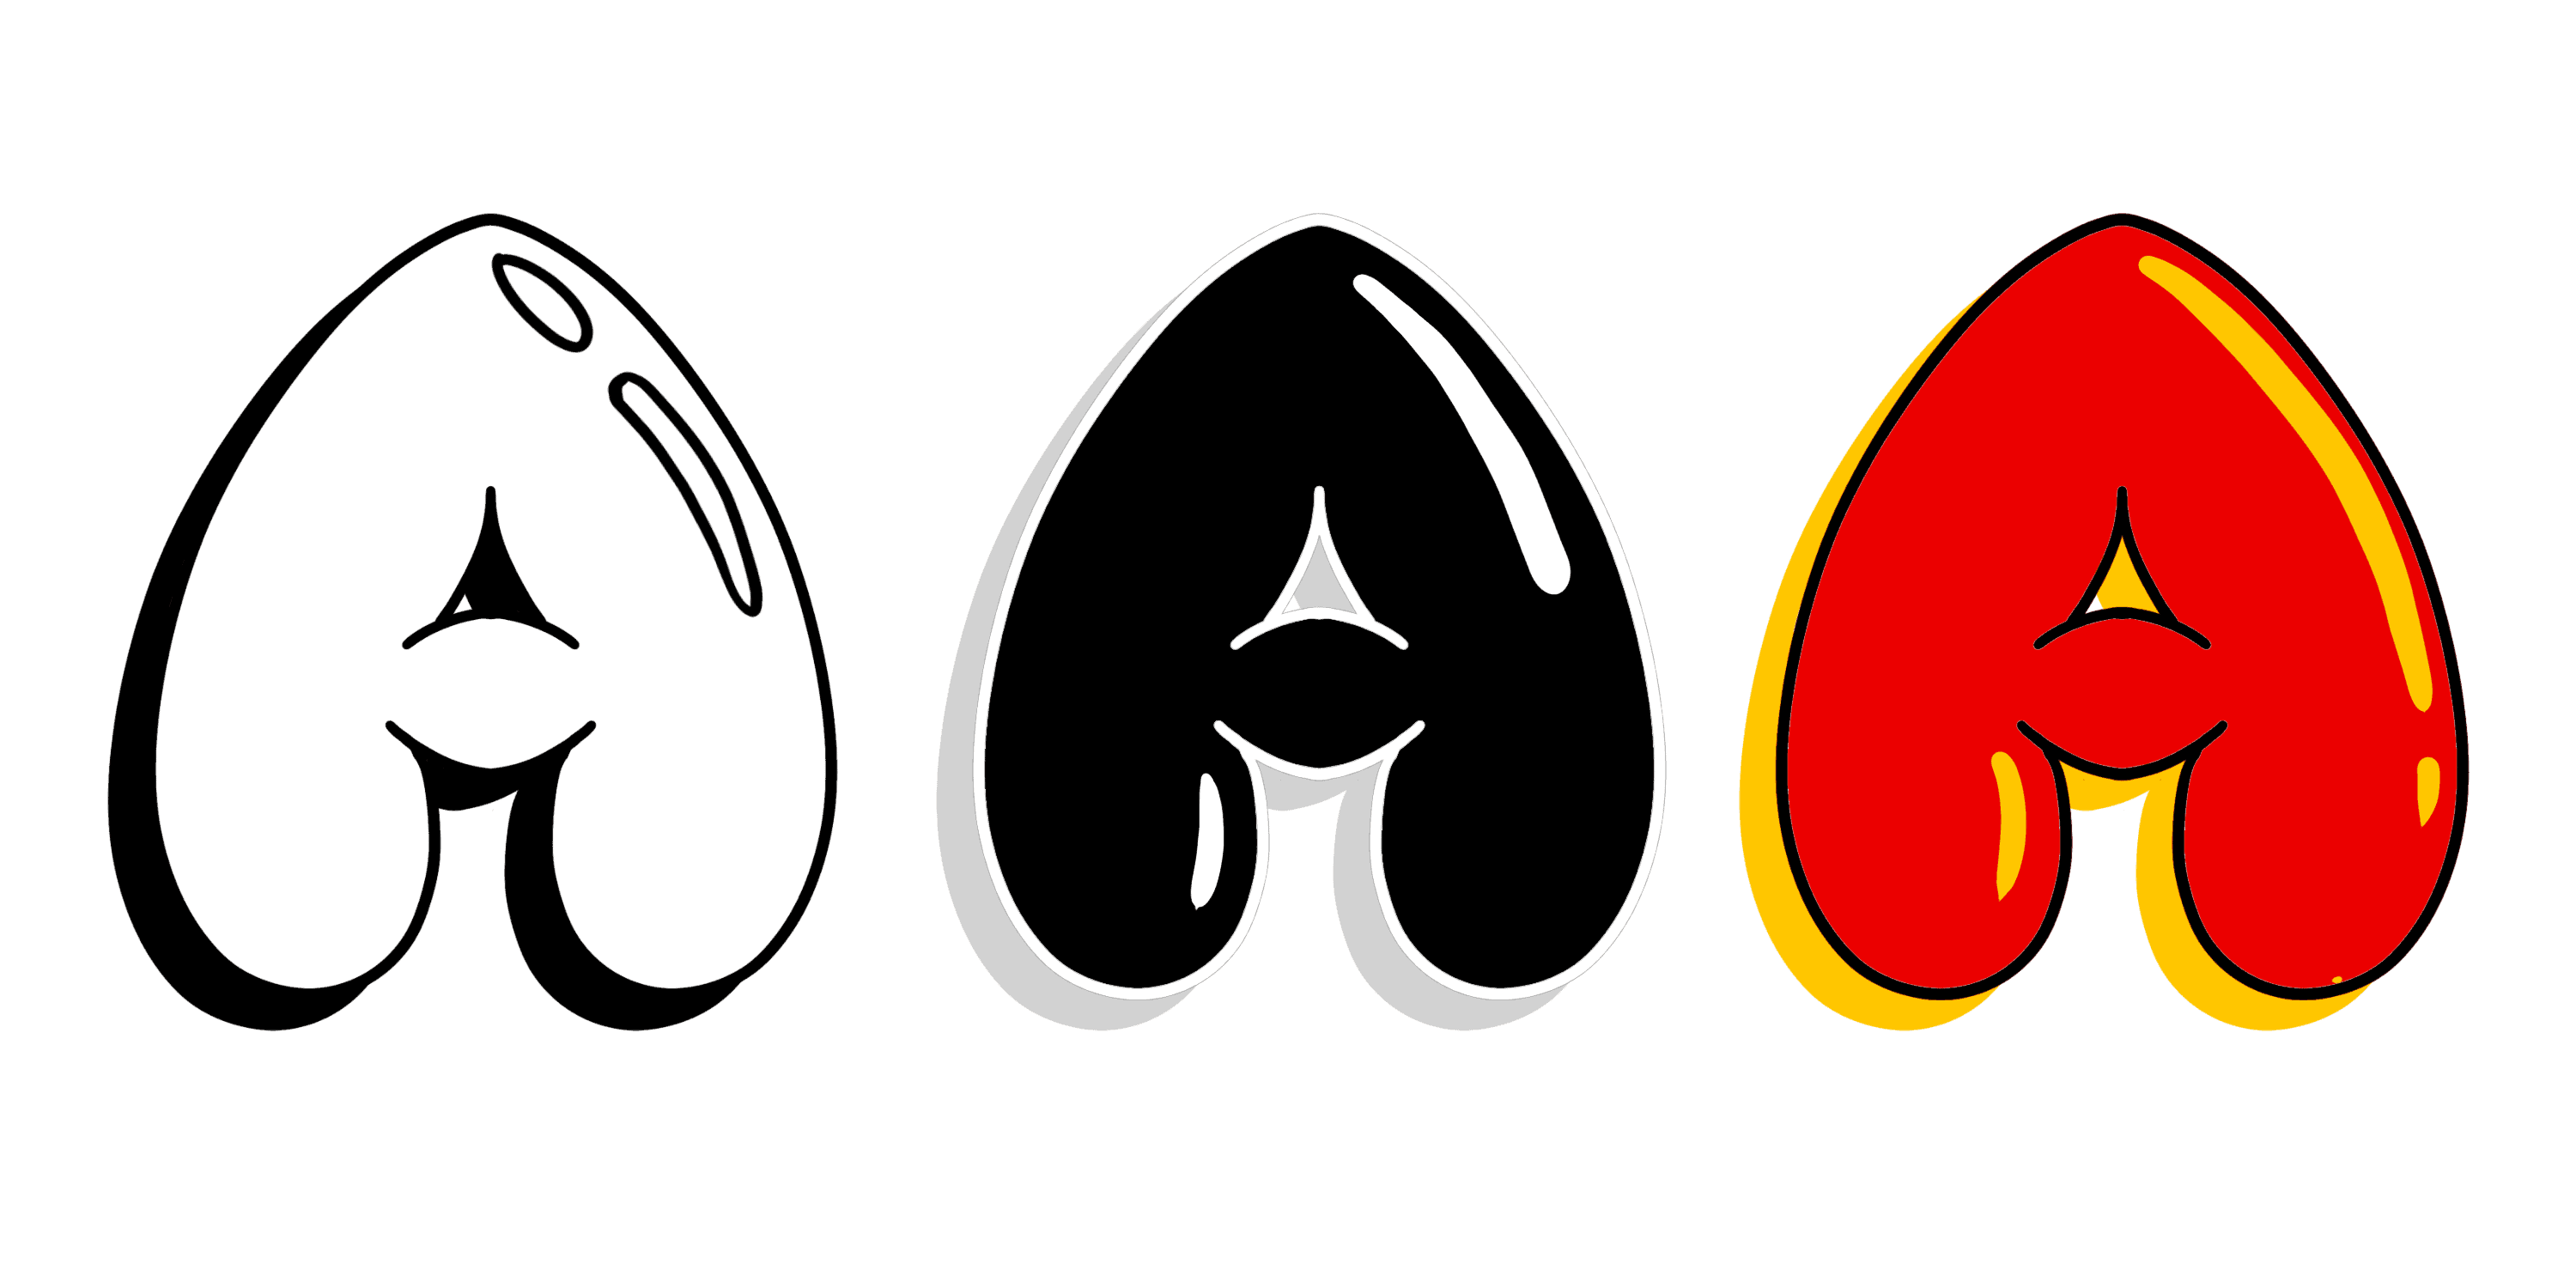
Bubble letters are a fun and creative way to make your writing stand out. The rounded, bubbly shapes give your letters a playful and eye-catching appearance. This article will guide you on How to Draw Bubble Letter A. Whether you’re a beginner or an experienced artist, follow these steps to create your own stylish and vibrant letter A.
Materials Needed for How to Draw Bubble Letter A.
- A sheet of paper
- Pencil
- Eraser
- Marker or pen (optional)
- Coloring materials (optional)
Step 1: Sketch the Basic Outline. To begin, lightly draw a capital letter A on your paper. Start by drawing a vertical line that serves as the letter’s spine. Then, add two diagonal lines connecting to the vertical line’s top and bottom ends, forming an upside-down “V” shape.
Step 2: Create the Bubble Effect Now, it’s time to give your letter A its characteristic bubble shape. Starting from the outer edges of the letter, draw curved lines that follow the contours of the letter. These lines should be evenly spaced and gradually merged into the original outline. Remember to keep the curves smooth and consistent.
Step 3: Thicken the Lines To enhance the bubble effect, thicken the lines of your letter A. Trace over the outline, making the lines bold and prominent. Please pay close attention to the curves and corners, ensuring a smooth and rounded appearance.
Step 4: Add Shadows and Highlights For a more three-dimensional look, add shadows and highlights to your letter A. Imagine a light source coming from one direction and shade the opposite sides of each bubble. This will create the illusion of depth and make your letter appear more rounded and lifelike.
Step 5: Clean Up and Refine Erase any unnecessary lines and streaks, cleaning up your drawing. Take this opportunity to refine the curves and make any necessary adjustments. Use your eraser to gently remove the construction lines and create a crisp and polished final outline.
Step 6: Ink (Optional) If you want to give your letter A a bold and defined look, go over your pencil lines with a marker or pen. Be careful and steady-handed as you trace over the lines to avoid any mistakes. Let the ink dry before erasing any remaining pencil marks.
Step 7: Color (Optional) Now, the fun part is coloring your bubble letter A! Choose your favorite colors and fill each bubble with a different shade. Experiment with gradients, patterns, or even add some glitter for an extra touch of sparkle. Let your creativity shine!
How to Draw Bubble Letter A: Tips and Tricks
- Practice drawing bubble letters on scrap paper before working on your final piece.
- Use light and confident strokes when sketching the initial outline.
- Play around with different letter sizes to create variation and impact.
- Consider using a ruler or stencil to help you achieve straight and consistent lines.
- Don’t be afraid to make mistakes. Art is all about experimentation and learning from the process.
Conclusion
How to Draw Bubble Letter A is an enjoyable and accessible art form that allows you to add flair and personality to your writing. Following these step-by-step instructions, you can create your captivating bubble letters quickly. Remember to be patient, have fun, and embrace your unique style. So grab your materials, unleash your creativity, and draw those fabulous bubble letter A’s today!

